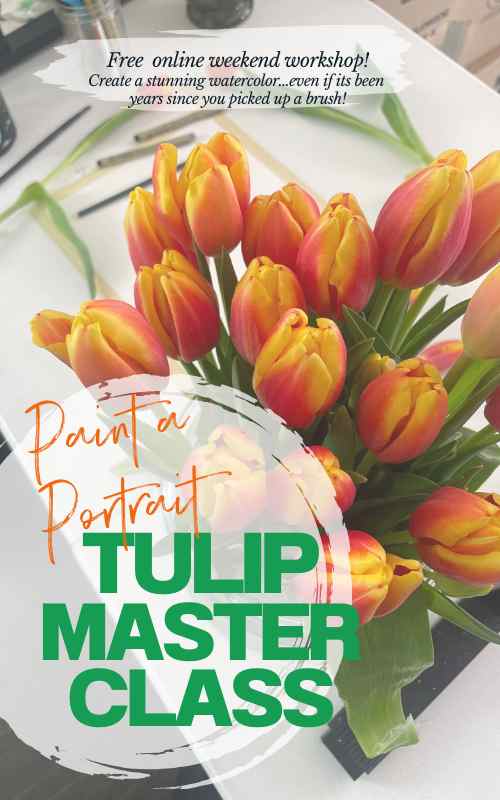
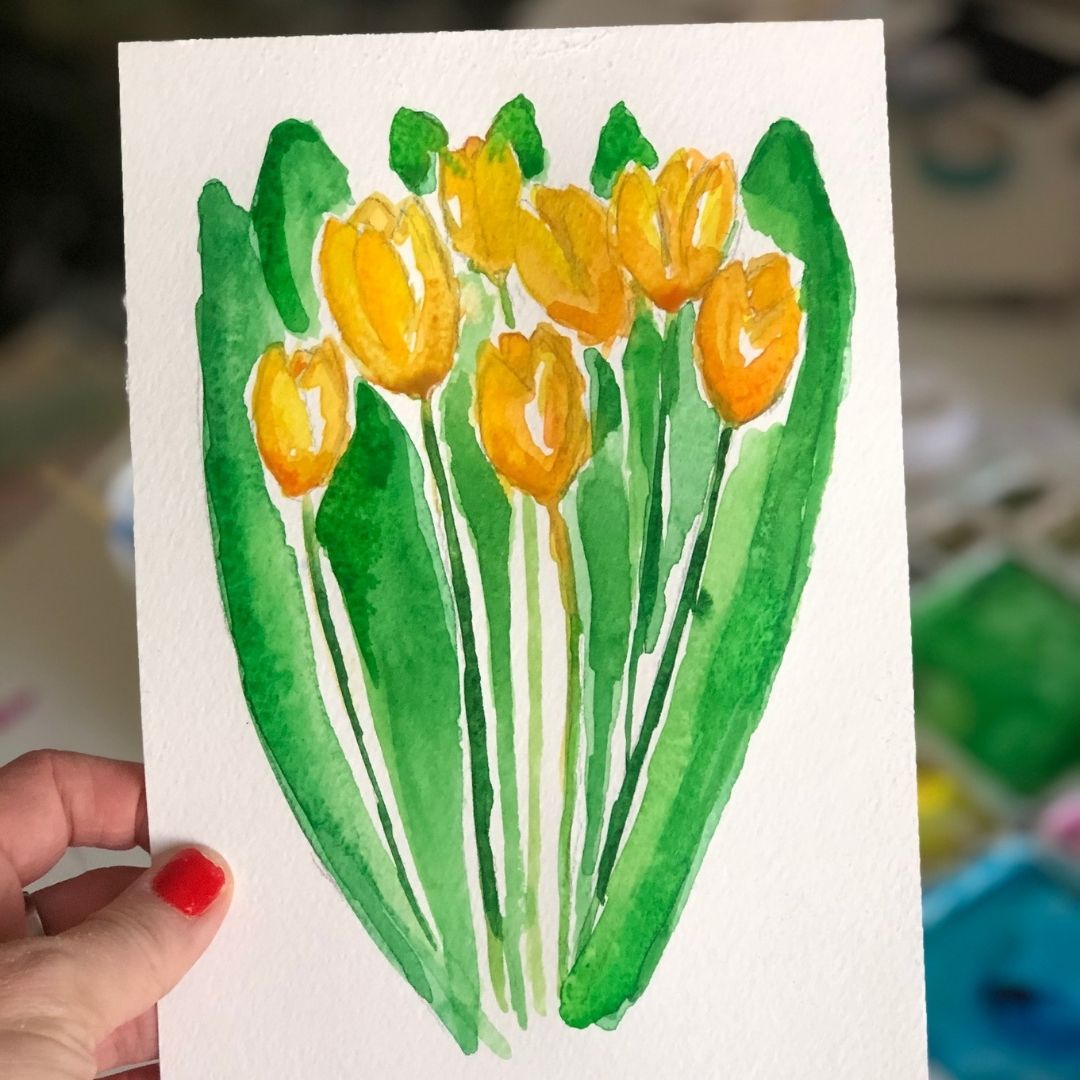
Want to paint tulips with me? Click on the video above to paint a beautiful bouquet of orange and yellow tulips.
My maternal grandparents instilled a few loves deep into my heart: art and gardening, especially growing flowers.
My grandparents cultivated a garden that could compete with the gardens on the covers of the finest magazines and social media posts. Several of Grandpa's magnificent and impressive paintings that were loved and admired so much were inspired by the beauties in the garden.
Every year, Grandma searched through the Burpee catalog page by page, scrutinizing, and finally choosing several bulb flowers to plant the following season. Many of those flowers regenerated new blooms year after year after year.
Grandpa would take the flowers he and Grandma grew and turn them into gorgeous paintings.
One of my favorite series of paintings my grandfather did was of huge, oversized flowers. He painted almond blossoms and irises and sunflowers and even some roses.
My grandma loved the artichoke blooms and almond blossoms so much, she forbid Grandpa to sell the originals! As an alternative, they developed high-resolution watercolor prints of those two favorites. Those prints were best sellers year after year.
As I grew up into adulthood, I continued to carry a love for painting and flowers. Like so many, I didn't have the hours to spend cultivating extensive paintings or botanical drawings as one might in a formal education setting.
However, I have learned to practice in the margins and have cultivated my own style of painting florals over the years.
Painting Tulips Step-by-Step
Note: It's going to take some time to dry and then if you want to add another layer with some fun detail detail work with pen...that will take extra time. BUT, I will teach you how to design, sketch and lay down the initial layer of paint in under 30 minutes!
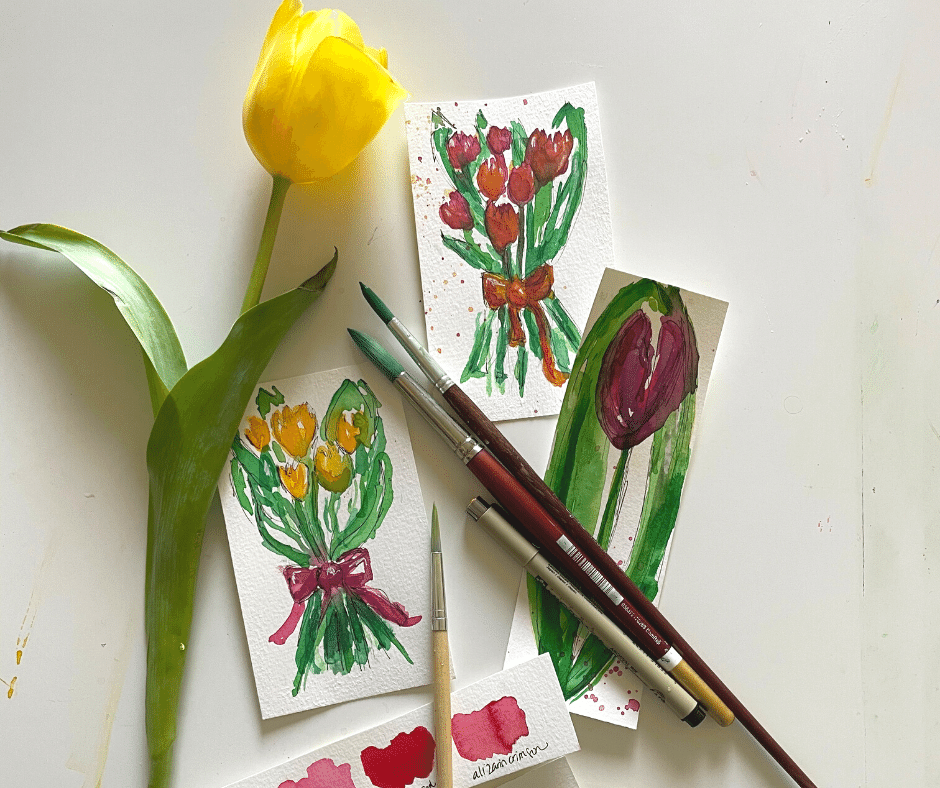
You only need a few things:
• Watercolor paper (any size). If you have odd sizes and scraps, that works really well for this project.
• Watercolor paint: choose 3-5 colors, the brighter the better. (I love permanent pink, yellow cadmium light, and a green, such as permanent green or hookers green, and phthalo blue).
• A jar with water for rinsing brushes
• Paper towel or art rag for drying the brushes
• Paint brushes: a variety of sizes is good. Use what you have. Currently, I'm in love with a Round brush, size 7. I'll often use a filbert brush in a size 6 or 8.
• Masking tape
Okay, a few pointers to start out: these aren't botanical drawings. We're going for the essence of the flower, not an exact, detailed guide. The more you do, the better you will get. I promise you that.
If you have fresh tulips in front of you, fantastic. If not, grab a picture of tulips from a magazine or print something off your phone or Pinterest.
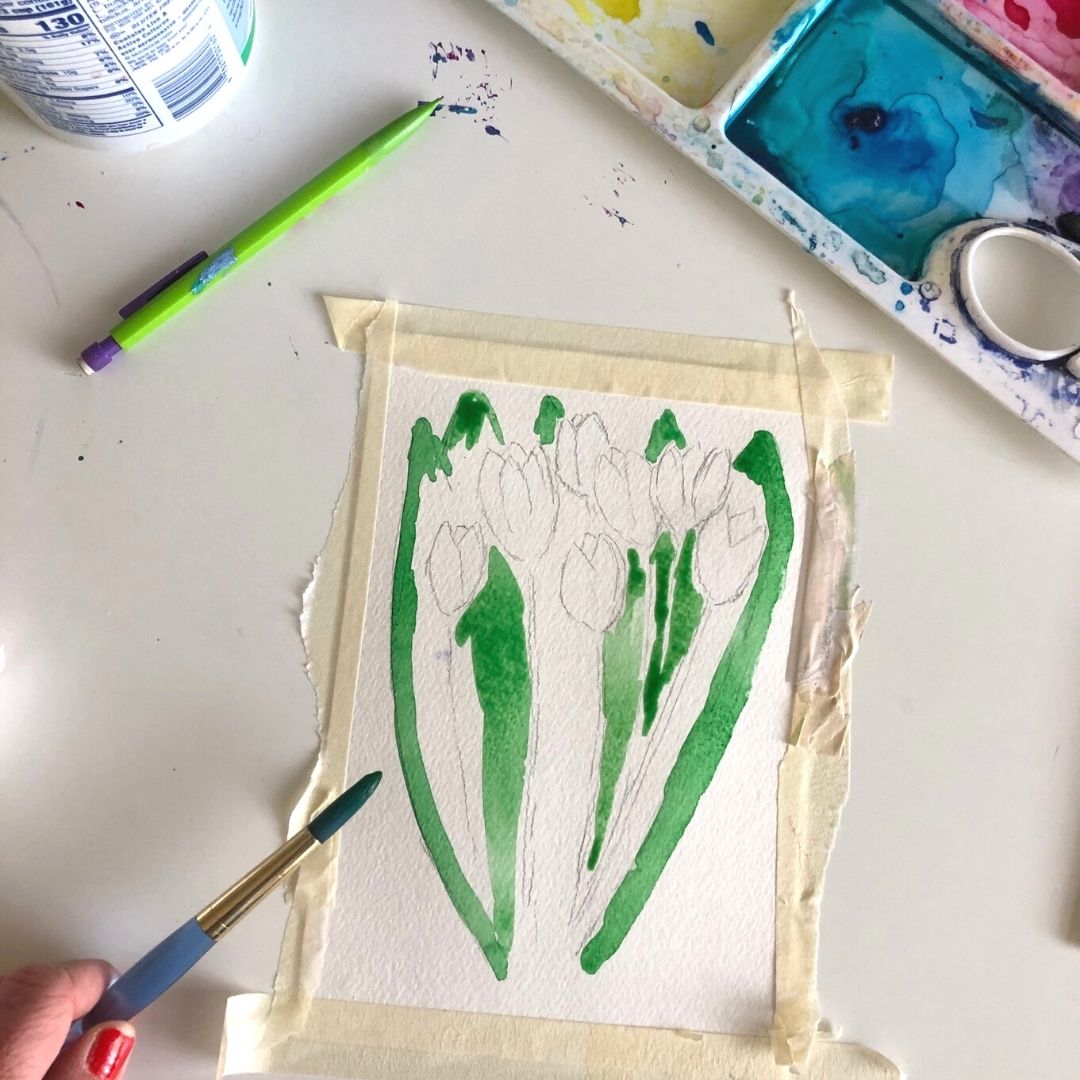
1. Start by taping down the watercolor paper to the table or a book or a board. Watercolor paper tends to bubble and bend when it gets wet. (The exception will be if you are using a spiral bound book for your watercolors).
2. Get your colors nice and wet. Be sure to rinse out the watercolor brush thoroughly so the colors don't merge. Unless you are intentionally making a new color (such as a lovely peach) We want them to blend on the paper, not the watercolor pan!
3. The one thing I like to do with a pencil is draw a line for the heights of the tulip heads and the stalks. This helps me stay in proportion.
4. Start by adding in the heads of the flowers. Be sure to leave lots of white space.
5. While the heads dry, paint the stalks. Drag the color from the heads of the flowers a bit; this creates a lovely sense of continuation and the color mixed with the green creates a softness.
The Second Half of Painting Tulips: Depth & Details
6. This is where you want to start creating depth in the bouquet. Look at where the shadows fall with the flowers. Typically, the bottom of the tulip bulb and one of the sides are darker due to shadows and where the light falls.
To create that sense of depth, saturate the brush with paint and add in another layer of color.
7. Let the painting dry.
8. At this point, I have the flowers, the stalks complete. I'll evaluate. Where do I need another layer of paint?
Questions to consider when evaluating a painting: Do I need more flowers? Does it look complete? Does the greenery need to extend outward to create that sense of fullness? Do I need to add some blue to the green to add a layer of shadows? Do I want to add some variation of green on the elegant, long green stalks?
Sometimes I wonder what Grandpa would think of my flowers. They are such a different style than his more detailed, near-photographic work.
Would he be amused? Give me some tips? Tell me to work on sketching more (that was advice he gave many times!) I think he would give me some tips on how to make them better. I miss him so much and would dearly love to talk with him and ask him all my questions. The memories are sweet, and I hold on to the guidance he gave me.
Interesting in creating a watercolor bouquet with a variety of flowers?
Painting a multi-floral bouquet is more challenging, but the payoff of completion is wonderful!
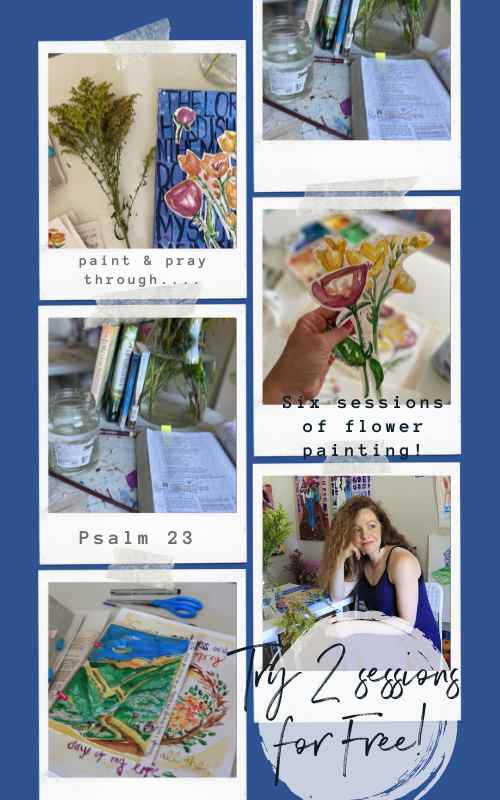
If you'd like a more in-depth class on designing and painting beautiful flowers, check out my course, Beautiful Blooms: Paint Flowers in Less than an Hour.
In this online workshop, I share:
• The 3 essential tips to designing your floral sketch (Hint: half the battle is knowing what not to include in your design).
• How to create color combinations that harmonize beautifully on paper
• What to do if the painting takes a "bad" turn. I share how to fix watercolors that seem to not work.
Find out more about the
Beautiful Blooms Flower workshop here.

.jpg)